Glacier High Art
  • Home
  • Student Choice
    • Themes
    • Artistic Thinking Process >
      • Inspire
      • Develop
      • Create
      • Reflect
    • The Nine
    • Artistic Behaviors
    • ATP Grades
  • Graphic Design
    • Gravit Designer
    • Adobe XD
    • Adobe Illustrator
    • Letterform Logo
    • Typography
    • The Mashup
    • GD2- Digital Design 2018 >
      • Inspiration Page
      • Digital Painting
  • Advanced Media Arts
    • Adobe Animate
    • Traditional Animation
    • Time Lapse Pixelmation
    • Stop Motion
    • Student Choice
    • Film Framing
    • Digital Story
    • Narrative Film
  • Archived Pages
    • Art Survey >
      • Stage 2
      • Stage 3
      • Stage 4
    • Graphic Design 1 >
      • Quarter 1 Projects >
        • AI: Exercises
        • South Park Portrait
        • Vector Self Portrait
        • Fortune Cookie
        • Masterpiece Mashup
      • Quarter 2 Projects >
        • Photo Retouching
        • Teenage Mind
    • Graphic Design 2 >
      • Info Graphic
      • Shepard Fairey Poster
      • AFMF Billboard
      • Black History Poster
      • Concert Poster
      • Free Choice Project
      • Greek God/Goddess Business Card
      • HDR Panoramic Photo
      • 3D Image & 3D Glasses
  • Grade Change
  • Weebly Portfolios
    • Required Portfolio Images
    • Example Portfolio Page

Digital Landscape Painting

A great skill to develop is your ability to create or paint landscapes with Photoshop. This could be applied to many projects in your future and possibly a painting itself can be a project on it's own. This exercise will allow you to learn some new techniques and hopefully develop your methods for making work in Photoshop. 

For this project we will follow a tutorial for guidance however you can develop your own painting rather than copying the one in the tutorial. You will learn about the different components of a landscape (background, middle ground, and foreground). Also under stand how atmospheric perspective plays a role in the environment and how to create the effect of depth in your painting. The third thing will be how to add textures from photos into your digital painting. 

First Steps

Create a sketch of a landscape you would like to try painting. Before you sketch take a look at the tutorial we will follow and it might influence your initial ideas. 

In your landscape sketch incorporate a background, middle ground, and foreground element. Establish the light source for the image as well, the sun is a typical light source and you need to know where the sun is located in relation to the scene. 

Establish two places where you can incorporate texture to parts of your landscape. Textures can be wood, rocks, dirt, or sand. 

Create a drawing on paper or directly in Photoshop. Drawing on paper might be much easier and quicker than trying to draw with a mouse or trying to learn to draw with a tablet if you have never used it before. 

To get your drawing onto your computer you can take a photo and upload it to Google Classroom or email it to yourself. 

Next Steps

Set up your document before you begin. The tutorial suggest using in image size of 7000 x 3138 pixels at 300ppi. If you use 6000 x 3000 I can easily print a 20x10" print of your painting. Please set up your document to these specs before you do anything. 


Find reference images that you can look at while you try painting. You might not find one single image that looks like your drawing but you can find images that represent different elements of your painting. You can find references for physical things such as mountains, trees, or buildings. You might also find reference images that you can use for color pallets, lighting effects, or moods that you would like to capture. 

Resources:

Tutorial: Create a Middle Earth Inspired Landscape Painting

Rahll Brush Set Download - Mentioned in Step 4: Middle Ground Detailing

Even Better Rahll Brush Set, This one is GREAT!

How to Install Brushes in Photoshop


Textures Galore on Textures.com Create an account to download 15 images per day for free.

​

Block Schedule Day Instructions: 

Spend some time creating a landscape that you would like to paint. If you don't create a landscape that you are interested in this project will not be as much fun as it could be. Once you have a sketch that you are happy with then you can begin with the tutorial. 

If you are using a drawing on paper for your design you can open the image and copy the contents and paste them into your project. You will need to resize your image to fit into the 20x10" space. Once you have your drawing scaled to fit your workspace you can use select by color range to select your lines and copy and paste them onto a new layer. Choose Select-> Color Range and then click on the black lines in your drawing. You can copy the black lines or you might need to inverse your selection. This will separate your drawing from the white of your paper. Refine your drawing a bit further. Sketch in some details with a thin black brush. You can also use the eraser to remove parts of your initial drawing. 

Set up layers so your project is organized by depth. The top layer should be your line drawing sketch. The bottom layer you should title Background, the next layer on top title Middleground, and the top layer just under your sketch should be foreground. Begin to block in colors on each of these layers. Create a layer and title it Sky. Drag the Sky layer to the very bottom of the layers panel. If there are any other features for your image you should place them on separate layers and label them. 

On each layer block in gray values to establish a sense of depth. Don't worry about choosing colors at this point. The farthest features in your landscape should be light gray. Each layer or landscape element as it gets closer to you should get darker. The farthest layers should also have less detail and the closer layers should have more details.  

​If you get this far you can continue to follow the tutorial. You can also find some reference images that you can use for color schemes and also find images for textures for different parts of your painting. Look in the resources area for a link to Textures.com. You can create an account and download textures that you might want to use. 
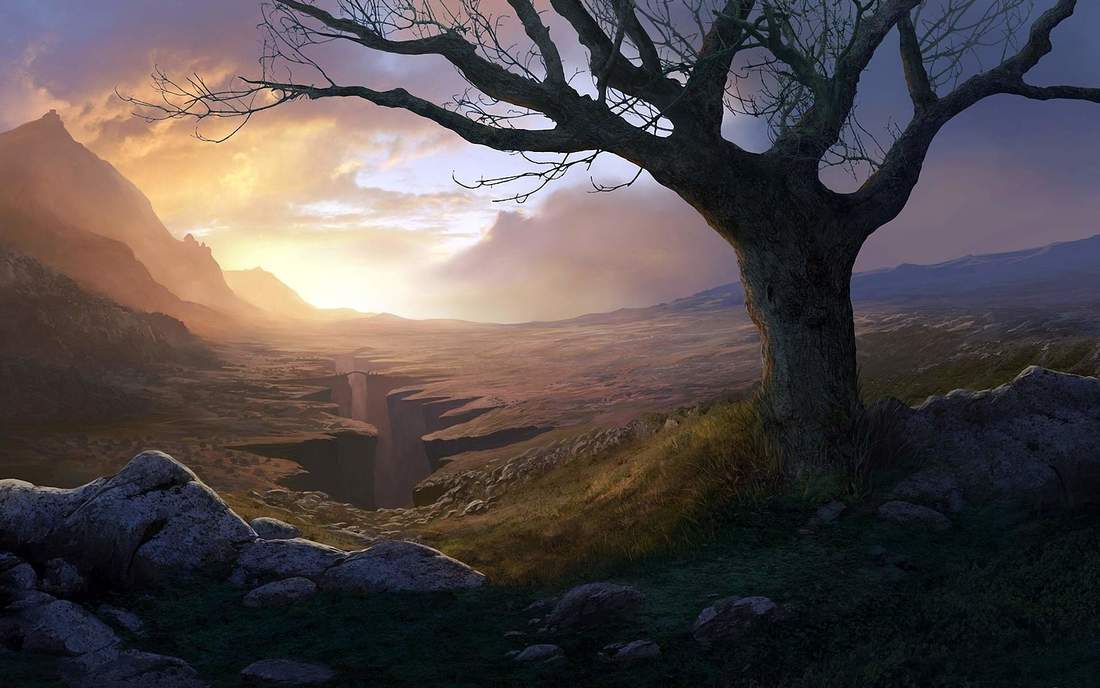
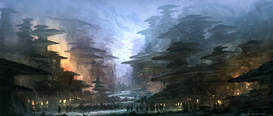
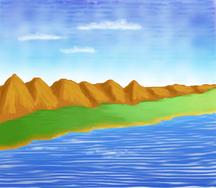
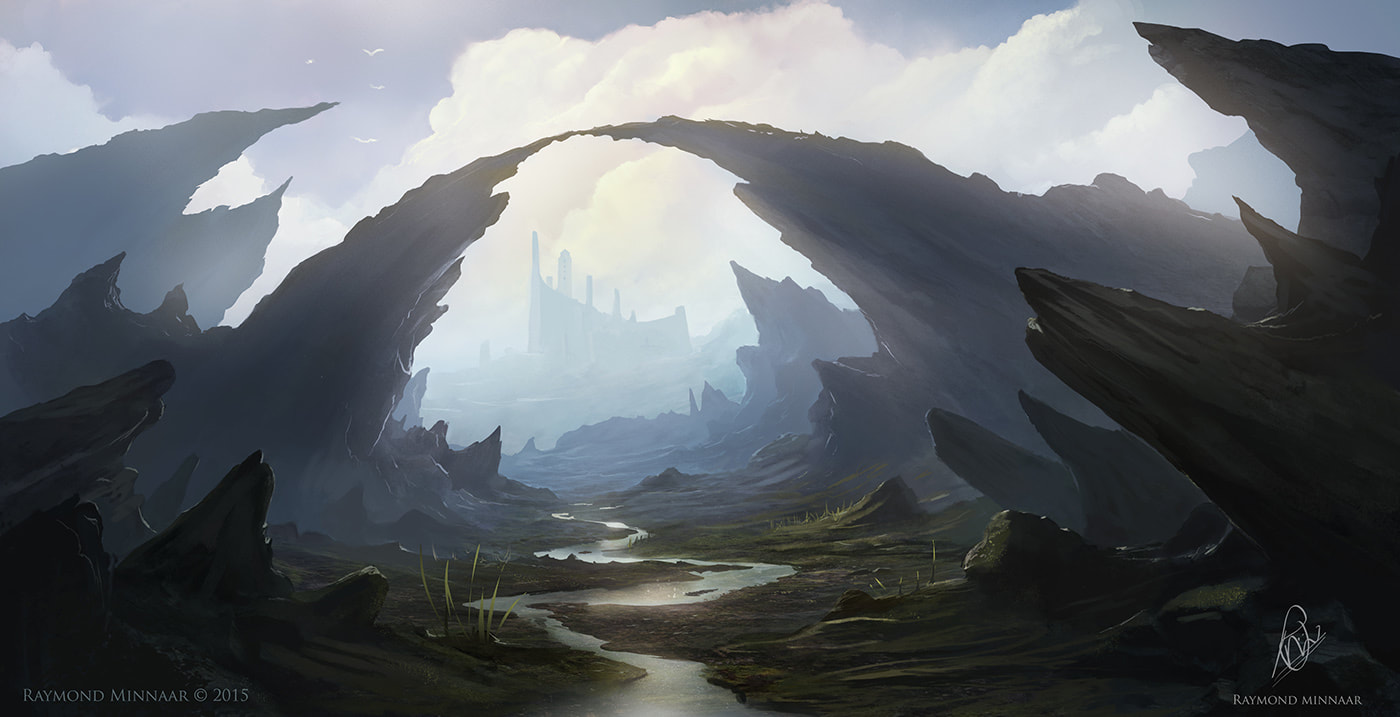
​

See Some Examples

Picture
Picture
Picture
Picture
Picture
Picture
View More
Powered by Create your own unique website with customizable templates.