Weebly Portfolio Website Design:
|
As an artist it's important to document your work. Since you have been documenting your work all along this semester it's time to put it into a format that you can reflect on easily and share with your friends and family.
We will use Weebly to create digital portfolios of your work from the semester. If you already have a Weebly site from another art class you can add a new page to display the work you accomplished this semester. Weebly is an online service that you can use to create websites. This is a valuable life skill you will most likely rely on in the future. This will help you get started with your first site so when you need to make one in the future you will know what do to and how easy it can be. Each required project is worth 5 points. In order to earn the entire five points you need to follow the setup steps below and also include a title, description and an image for each project. |

|
Create a Weebly Account:
|
Visit the website Weebly.com and sign in if you already have an account. If you don't have an account select "Sign up" and then choose "Continue with Google." Use your school email address and your school password to create your account.
|
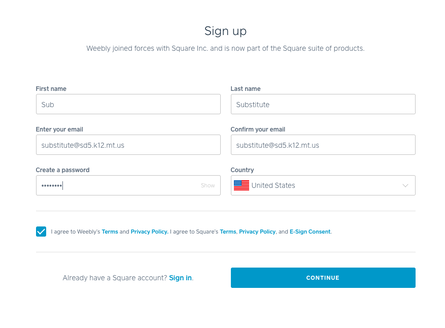
Use your School District 5 email address and password for creating this account.
|
Set up your site with a template.
|
|
Set up your Pages:
DO NOT INCLUDE YOUR PHONE NUMBER, HOME ADDRESS, PERSONAL OR SCHOOL EMAIL, OR YOUR FULL NAME ANYWHERE ON YOUR SITE. |
|
Build a Portfolio Page:
|
On the Build Tab you will use the "Basic" items to build your page. Drag and drop from the left menu space onto a blank web page. Drag a Title, Text, and Image for each project. Once you drag them into place you will see a blue line which shows where your items will land. You can also use Divider and Spacer to help keep things aligned and organized on your page.
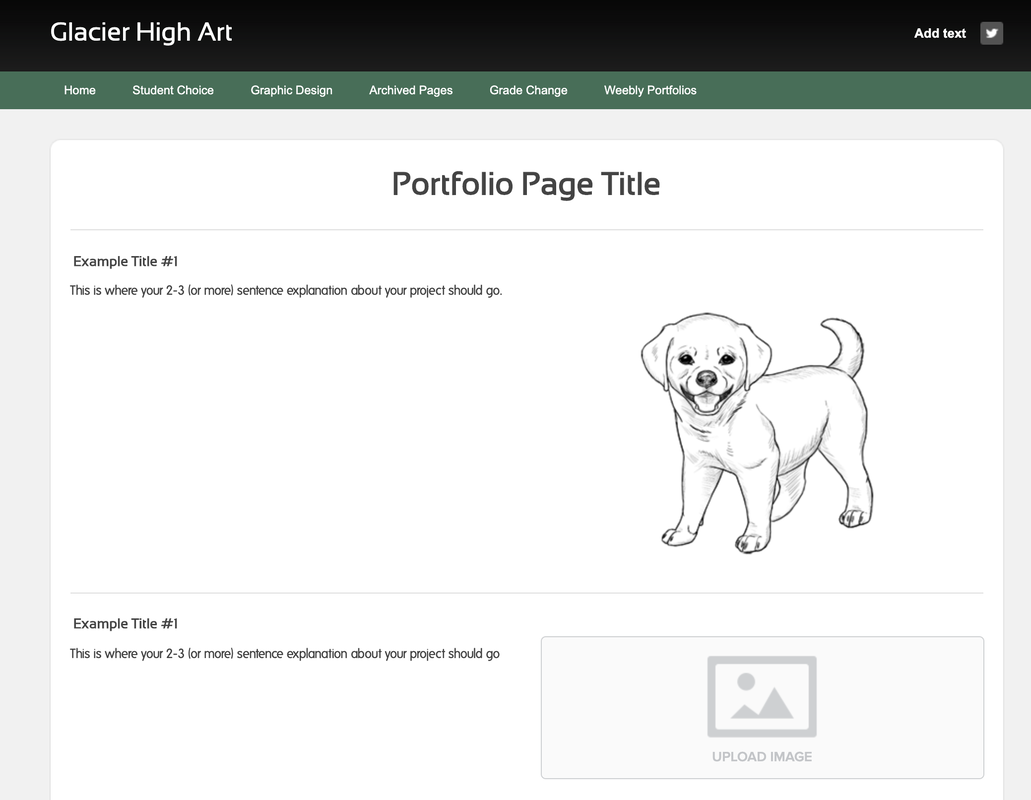
You will display the artwork you created this semester on a single page. For each project we created you will upload an image, create a title, and write 2-3 complete sentences to explain your project. Write about what you created, how did you do it, what problems did you run into, explain why you like it or why you don't like it. What does the viewer need to know? All of your images need to be cropped and rotated. Your image should only show your artwork. Everything else around your artwork should be cropped out. Rotate your images so the top of your work is upright. Add a title to each project. Please use the assignment titles so it is easy for me to identify each project. Do not use the slide show or gallery options to display all your work. Visit the Portfolio Example Page to see an example of a layout. Here is a list of all of the required images and titles to upload. You can add more than what is required to add to your portfolio. You can also add work in progress images, details, or other images related to each project. |
|
Download your images from Google Drive.
|
You will download imgaes of each of your projects and upload them to your weebly site. You can get all of your images directly from your Google Drive by looking in Classroom-> Graphic Design, Drawing or Art Survey Folder. Select the images you want to upload and save them to your downloads folder. You can edit images in Photoshop or you can edit them with Weebly once they are on your portfolio page.
Weebly will only allow you to upload .JPGs and .PNG files. Weebly won't allow you to upload .AI or .PSD. .TIFF or .HEIC files. If any of your files are .HEIC or Text Edit files you can double click on them and open them with Paint on a PC or with Preview on a Mac. Choose File-> Save As and select .JPG or .PNG as the file format. Once these files are saved you can upload the .jpg and .png files to Weebly. If your artwork is side ways or not cropped you can click on the image in the Weebly Editor and choose "Edit Image." On this pop up editor window you can rotate, crop, and also apply adjustments to your image such as brightness, contrast, or exposure. Try to edit your image so it appears as true to life as your actual artwork. |

|
