|
|
|


An introduction to Adobe Illustrator and Creating Vector Graphics
Objectives:
This project will introduce you to Adobe Illustrator, vector and raster graphics, and how you will direct yourself through the course using the Graphic Design Website.
After completing this project you will:
- Understand the difference between vector and raster graphics
- Create an Adobe Illustrator document and place and embed a raster graphic
- Create new layers, lock and unlock layers, rearrange layers, and make layers visible or invisible.
- Arrange objects within a layer
- Group and ungroup objects
- Apply stroke and fill colors
- Adjust the artboard size and change the units
- Change the project resolution
- Export .jpeg files from AI
- Use the following tools:
- Selection Tool
- Direct Selection Tool
- Pen Tool (add and delete anchor point, and convert anchor point tools)
- Shape Tools (rectangle, elipse, star tool)
- Zoom Tool
- Hand Tool
- Warp Tools
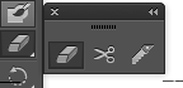
- Eraser Tools
- Blob Brush Tools
Requirements:
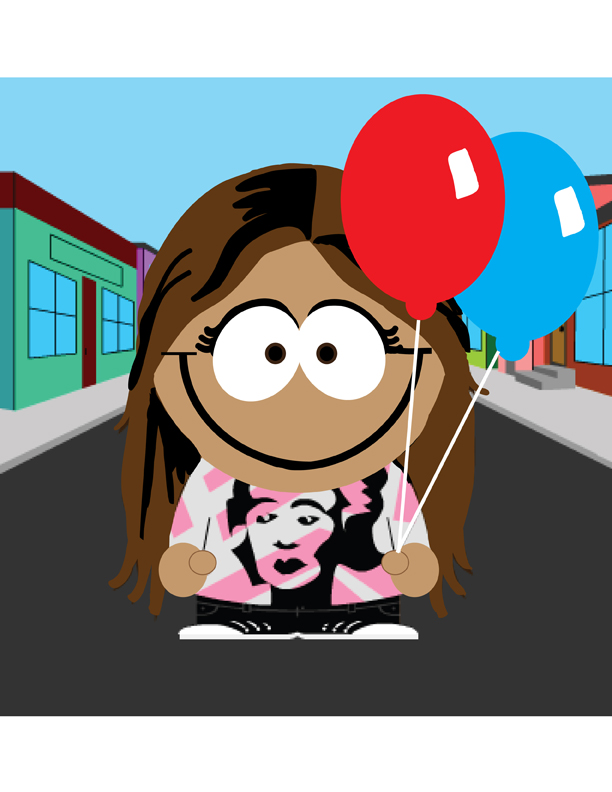
-Create a vector based self portrait using the South Park style
-Utilize various tools learned in the previous project and new tools
-Document that is 5" x 8"
-Utilize layers to separate and organize your project. Name your layers.
-Submit your project to Google Classroom with the proper name: LastName.AI
-Submit an Adobe Illustrator File.
|
Step 1: Create a South Park self portrait:
Spend about 10 minutes creating your self portrait. Keep your character simple without too many "accessories." As always, make sure your imagery is school appropriate (you may not incorporate weapons, tobacco, alcohol, drug paraphernalia, or anything else deemed inappropriate for GHS). |
Step 2: Save an image of your completed character:
After you complete your character you will create a raster based image of your creation by making a screen shot. Hold Shift-Cmd-4 then click and drag to select your image capture area. Release your mouse and your raster image will show up on your desktop. |
Step 3: Plan out your project using simple shapes in your sketchbook:
Use your sketchbook to draw your character using basic shapes (circles, squares, triangles, ovals, rectangles). Think of how you will build your character from the back layer toward the front layer. Consider how shapes can overlap. Keep a record of how your shapes will be stacked in your project. Number them or draw them in rainbow order (Red shapes on the bottom, orange on top of red, yellow on top or red and orange, etc) |
|
Step 4: Setup your .AI project.
1Open Adobe Illustrator and choose File->New Create a document that is: RGB 5 in Wide x 8 in High (Portrait Orientation) 300dpi raster effects 2-3. Place your image into this new document: Choose File->Place, navigate to your screen shot and choose place. 4.Select the image and choose "Embed" at the top of your screen. 5. Rescale your photo while holding shift. Scale your character up so that if fills the composition. Holding shift will keep the proportions of objects and images constrained so they don't become stretched or squashed. Your background may go outside of the artboard space. 6. Open your layers panel and double click on the layer that contains your picture. Name this layer "picture" lock this layer and choose "dim images to 50%." |
|
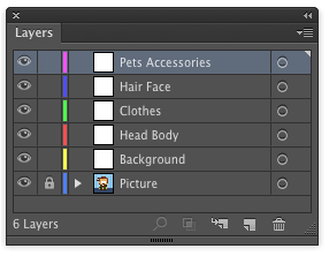
5. Setup Layers :
Setup your layers similar to this arrangement to organize your project. Lock the layers you are not working on while you create shapes on each layer. |
6. Begin to build your character.
Build your character working from the background up. Start with large basic shapes first (head, body, arms, hands etc). You can overlap shapes, copy and paste shapes, and create custom shapes with the pen tool. Remember to create closed paths or shapes rather than creating open shapes or lines. Other tools to use are the Warp Tools and Eraser Tools to create different effects on shapes. Double click on these tools to open different options for tools.
|
Deliverables:
Title your file with LastName.southpark.AI
Turn in your project to the Google Classroom
Title your file with LastName.southpark.AI
Turn in your project to the Google Classroom
Grading Rubrics:
Grade- Description
A- You gave it your all and it shows! You have earned an A. You did all the requirements for the assignment. You put in a second, third, or fourth effort and it is your best work. Nothing needs to be changed. Clearly evident you took full advantage of all learning materials offered. You completed your project on time and titled your file correctly (LastName.southpark.AI)
B- Great, but...: You did the work and used instructions from lectures, websites and/or video tutorials. The project is not perfect yet but can be corrected. You are satisfied design flaws in your final project.
C-Average work: You did the assignment but did not use instruction provided by the website or tutorials. No second effort, the first attempt is final product. Your project was not completed on time.
D- Bare Minimum: You just barely completed this assignment. Very little effort displayed, spent time off task, did not follow directions or tutorials provided.
F- No attendance or no project submitted at the time of grading.
X- You need to submit or resubmit a project. If you do not understand why it needs to be resubmitted ask Mr. Hanson.
You can always resubmit an assignment to improve your grade. Before resubmitting an assignment make refinements to your previously submitted project. Contact the teacher to find out what should be improved.
