Period 1: Fall 2012 |
Period 3: Fall 2012 |
Period 4: Fall 2012 |


Vector Self Portrait:
50 Points
Objectives:
This project will allow you to explore new tools and tutorials in Adobe Illustrator. You will have the opportunity to explore areas of Illustrator that are interesting to you. You will also use the Graphic Design Process to create this project.
After completing this project you will:
Requirements:
-Use your sketchbook to develop your project, brainstorm a page of notes about yourself, family, nationality, interests, etc.
-Develop some ideas of what will you use for text in your design? What will the words say? What is the message? What do you want to communicate about you?
-Sketch thumbnails of your composition, how will your framing look? How will you incorporate your image with the text?
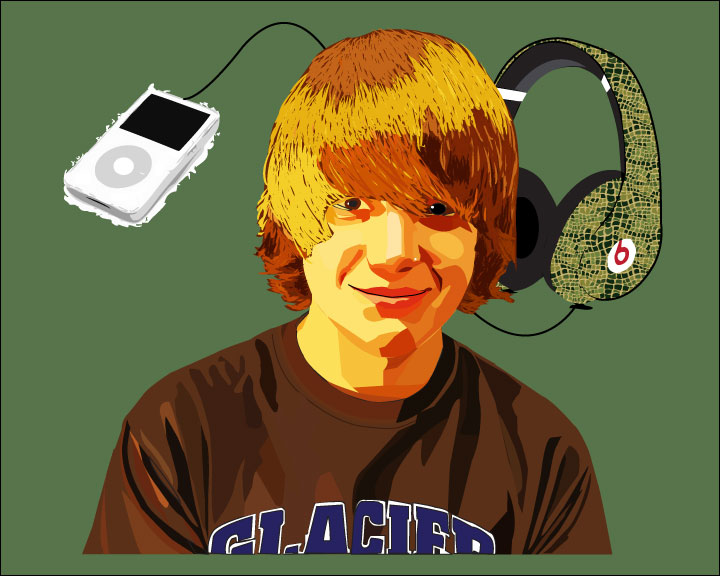
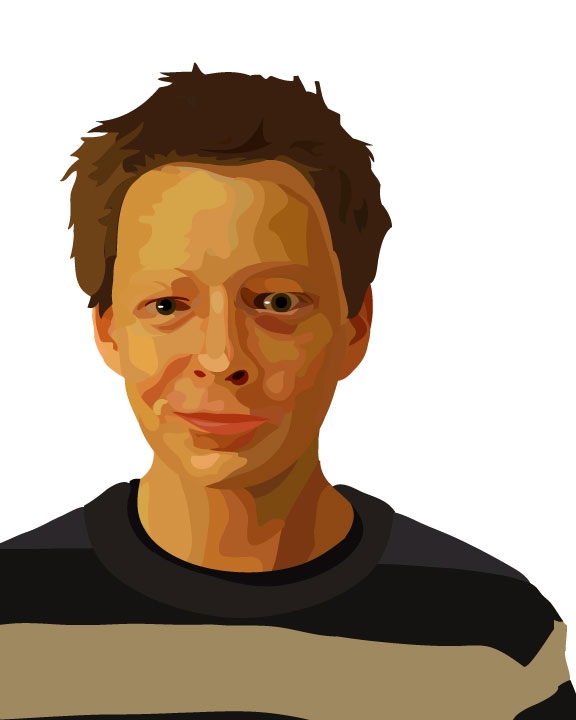
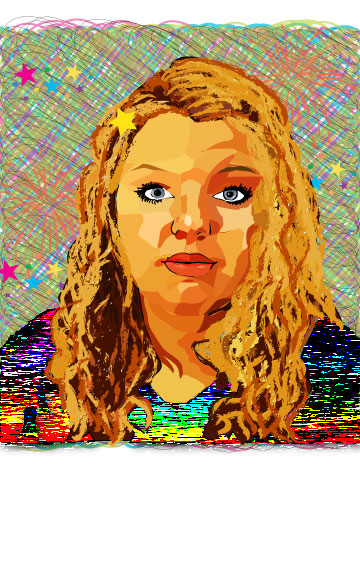
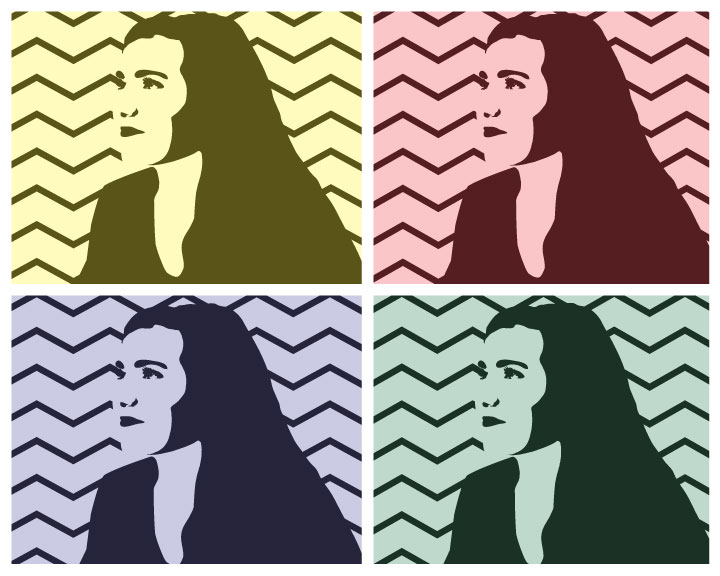
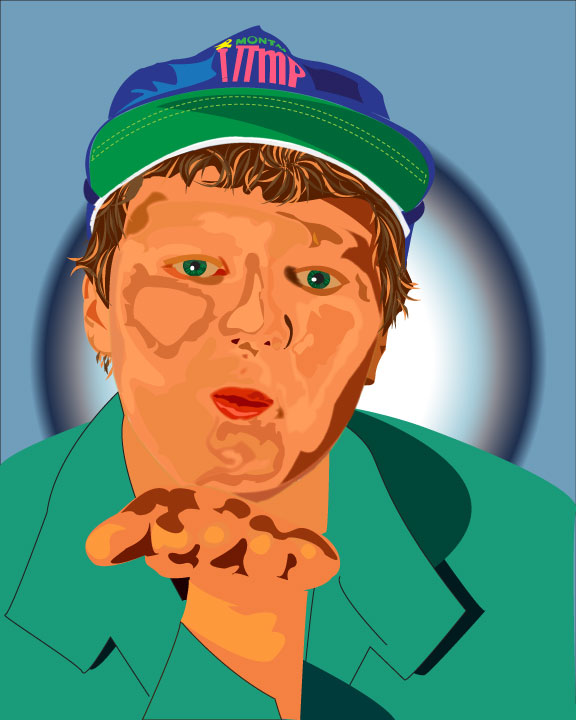
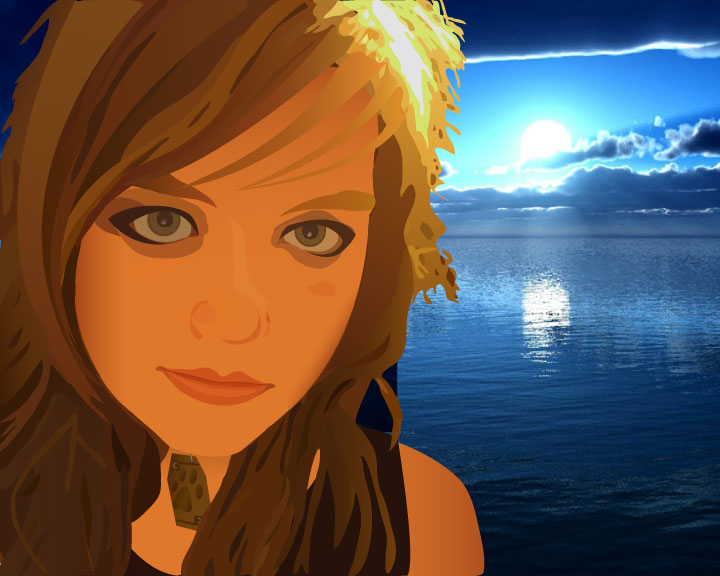
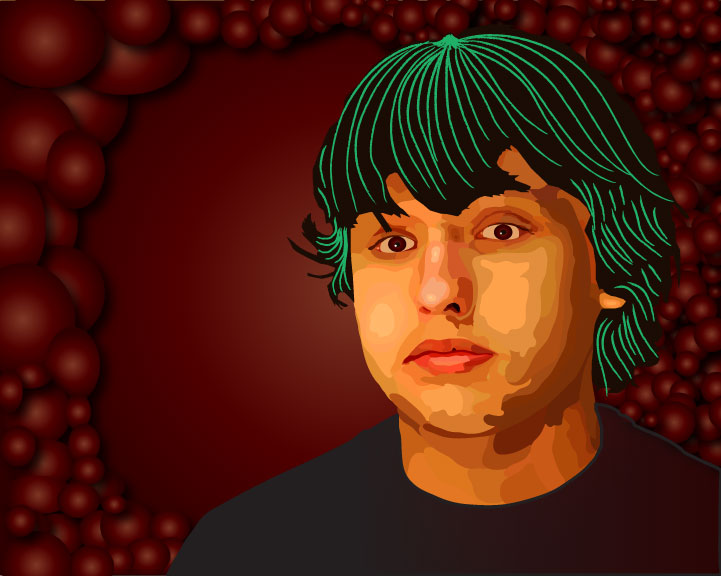
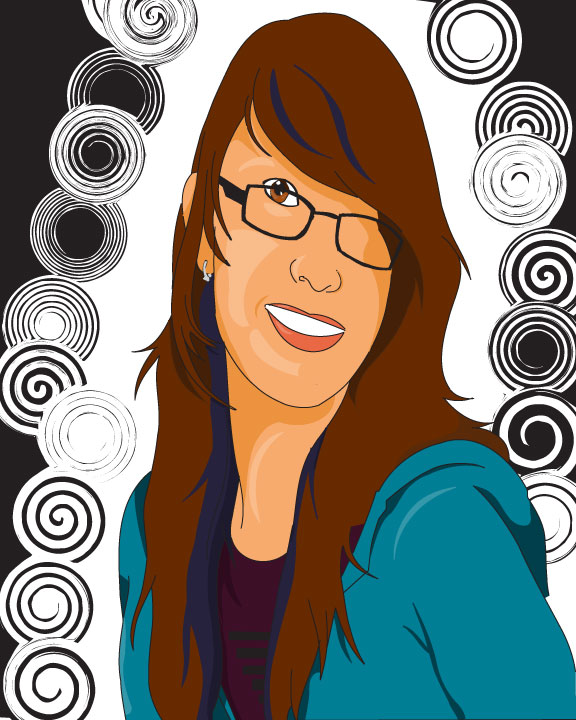
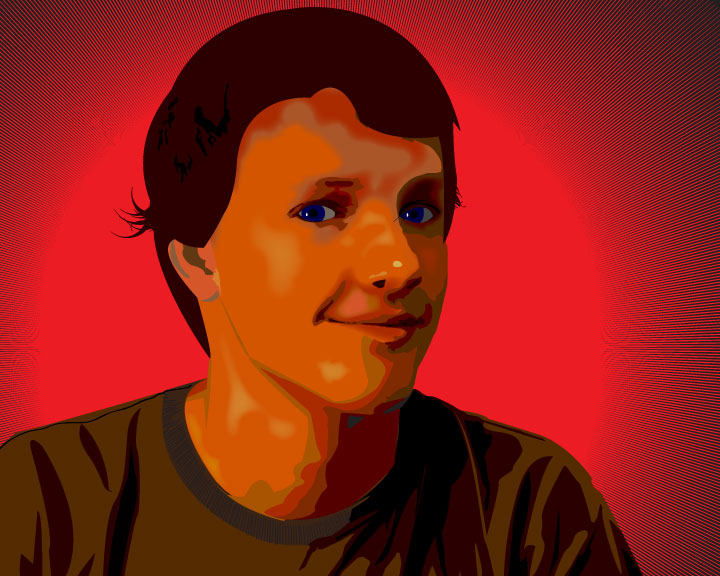
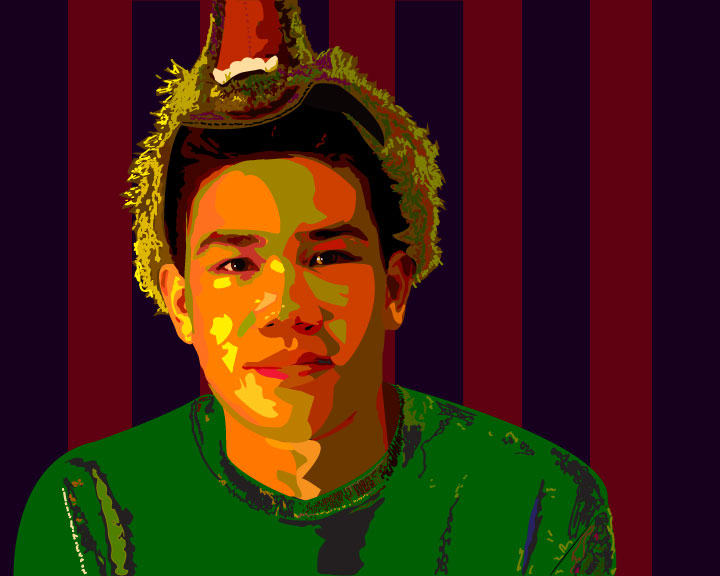
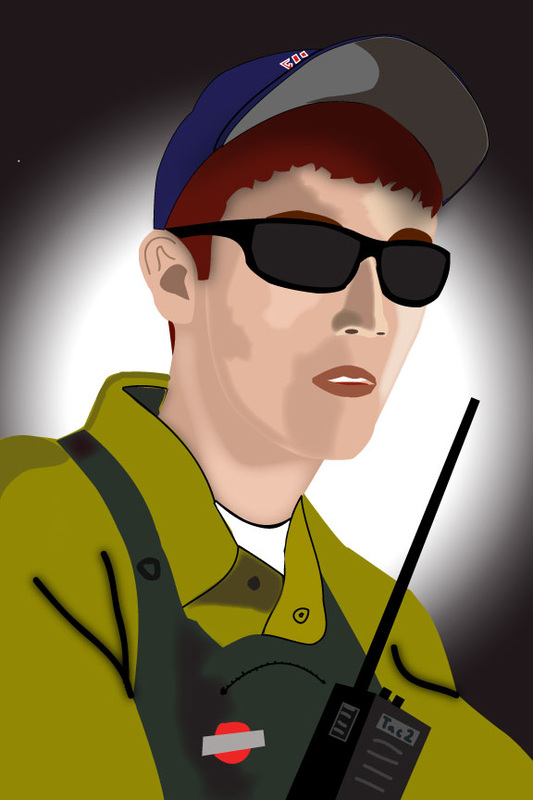
-Create a vector based self-portrait using a photograph of yourself and your own style.
-Incorporate text into the design of your project, this can be a foreground or background element.
-Demonstrate your knowledge of Adobe Illustrator by using a variety of tools and techniques you have learned from previous projects
-Create your own background and a border on all four sides.
-Export a print resolution .jpg for printing, submit a file titled Lastname.portrait.print.jpg
-the .jpeg file must be 8x12 inches
-the .jpeg file must be 300 ppi
-submit the .AI file for your project in addition to your .jpg.
Objectives:
This project will allow you to explore new tools and tutorials in Adobe Illustrator. You will have the opportunity to explore areas of Illustrator that are interesting to you. You will also use the Graphic Design Process to create this project.
After completing this project you will:
- Learn how to crop and make adjustments using Photoshop
- Install brushes and make custom brushes
- Download Vector Packs and Apply them to your project.
- Use the Brush and Pencil tools
- Use the Gradient Tool and panel
- Use the Wacom Drawing Tablets
- Use the following tools
- Selection Tool
- Direct Selection Tool
- Pen Tool (add and delete anchor point, and convert anchor point tools)
- Shape Tools (rectangle, elipse, star tool)
- Zoom Tool
- Hand Tool
Requirements:
-Use your sketchbook to develop your project, brainstorm a page of notes about yourself, family, nationality, interests, etc.
-Develop some ideas of what will you use for text in your design? What will the words say? What is the message? What do you want to communicate about you?
-Sketch thumbnails of your composition, how will your framing look? How will you incorporate your image with the text?
-Create a vector based self-portrait using a photograph of yourself and your own style.
-Incorporate text into the design of your project, this can be a foreground or background element.
-Demonstrate your knowledge of Adobe Illustrator by using a variety of tools and techniques you have learned from previous projects
-Create your own background and a border on all four sides.
-Export a print resolution .jpg for printing, submit a file titled Lastname.portrait.print.jpg
-the .jpeg file must be 8x12 inches
-the .jpeg file must be 300 ppi
-submit the .AI file for your project in addition to your .jpg.
Resources
|
Tutorials: Look to these tutorials and try and incorporate them into your project:
Comprehensive Guides: Guide to the Brush Tool Guide to the Pen Tool Portrait Step by Step Tutorials: Quick Vector Portrait from a Photo Great Line Art Technique Vector Face from a Photo Imitating a Scanner Darkly Technique HAIR HAIR HAIR!!! This tutorial has an excellent hair technique Create Dynamic Hair More on Dynamic Shiny Hair Vector Hair with Brushes Vectoring Skin Techniques |
Ink and Color Technique
These directions explain some of the details from the Ultimate Inking and Color YouTube tutorial by Clay Butler. Here is the long version of the same technique: Ultimate Inking and Coloring Technique (LONG VERSION). You can watch these videos for a visual reference with explanation by illustrator Clay Butler himself.
1. Create a Brush and Trace Artwork:
|
2. Make a Copy of Brush Strokes:
|
3. Clean Up Brush Strokes:
|
4. Make Live Paint Layer and Color:
|
5. Use Knife Tool to Cut Up Color into Smaller Shapes:
|
6: Apply this technique in your future projects:You can apply this technique to any of your own drawings or photographs to make vector artwork. This artwork is best for creating artwork that will be reproduced on posters, shirts, stickers and much much more!
|
How to EXPORT a JPEG
|
To submit your project you will Export a .JPG file. Follow these steps:
Color Model: RGB Quality: Maximum 10 Resolution: 300ppi Anti-Aliasing: Art Optimized Click OK. In Google Classroom upload your .AI file and your .JPG to the Vector Portrait Assignment. |
|
Deliverables:
To the server:
-.JPEG file (Yourname.portrait.jpg)- 300dpi and 8x12 inches in RGB color format.
-.AI file (yourname.portrait.ai)- 8x12 inches in RGB color format.
Turn both your AI and JPEG file into Google Classroom.
To the server:
-.JPEG file (Yourname.portrait.jpg)- 300dpi and 8x12 inches in RGB color format.
-.AI file (yourname.portrait.ai)- 8x12 inches in RGB color format.
Turn both your AI and JPEG file into Google Classroom.
Grading Rubrics:
Grade- Description
A- You gave it your all and it shows! You have earned an A. You did all the requirements for the assignment. You put in a second, third, or fourth effort and it is your best work. Nothing needs to be changed. Clearly evident you took full advantage of all learning materials offered. You completed your project on time.
B- Great, but...: You did the work and used instructions from lectures, websites and/or video tutorials. The project is not perfect yet but can be corrected. You are satisfied design flaws in your final project.
C-Average work: You did the assignment but did not use instruction provided by the website or tutorials. No second effort, the first attempt is final product. Your project was not completed on time.
D- Bare Minimum: You just barely completed this assignment. Very little effort displayed, spent time off task, did not follow directions or tutorials provided.
F- No attendance or no project submitted at the time of grading.
X- You need to submit or resubmit a project. If you do not understand why it needs to be resubmitted ask Mr. Hanson.
You can always resubmit an assignment to improve your grade. Before resubmitting an assignment make refinements to your previously submitted project. Contact the teacher to find out what should be improved.
