Photo Retouching: Setting Black and White PointThis page will walk you through the steps involved in setting the black and white point in your image. This will help correct the exposure range that is visible in your image.
These adjustments can be made to any photo and will quickly and easily enhance a photo. This technique is outlined in detail in the YouTube video embedded to the right. You can also find this video on the ghsmacserver- Graphic/Resources/PhotoRetouching/ S1.ColorCorrection |
|
Setting Black and White Point
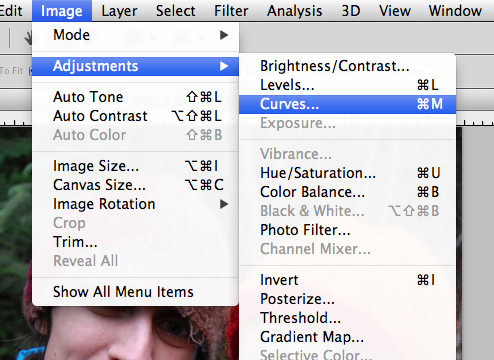
1. Open the Curves Dialog Box
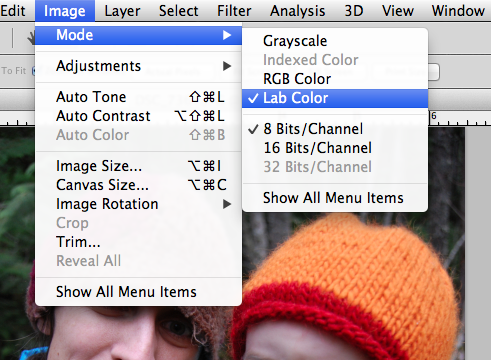
You will first set the black point for your image. Choose Image->Adustments-> Curves.
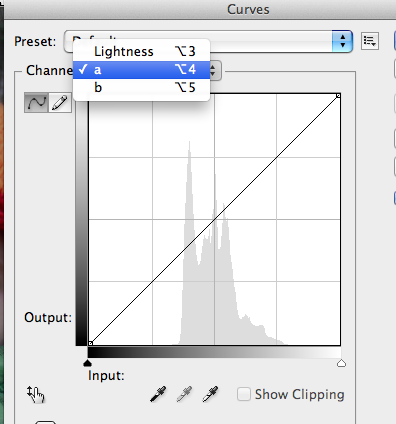
2. Set the Black Point
Once in the Curves Dialog box you will double click on the black eye dropper on the left next to Input.
This will open up a color picker window.
This will open up a color picker window.
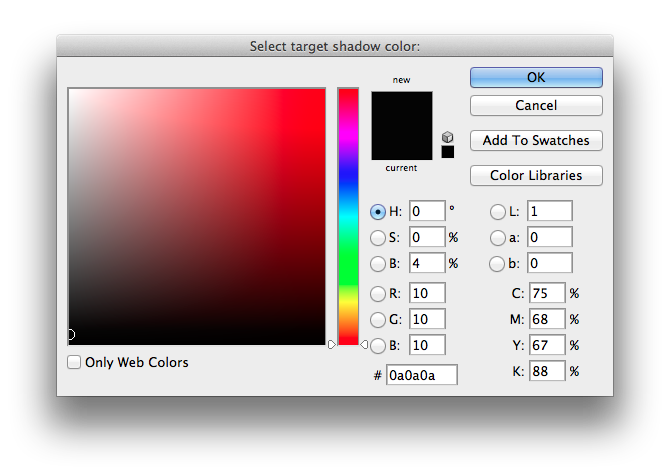
3. Change the RGB values to 10, 10, 10
Next to RGB you should see the default values are 0, 0, and 0. You will change these to 10, 10, and 10. Then click OK. See before and after to the right.
4. Click on the Darkest Point in the Image
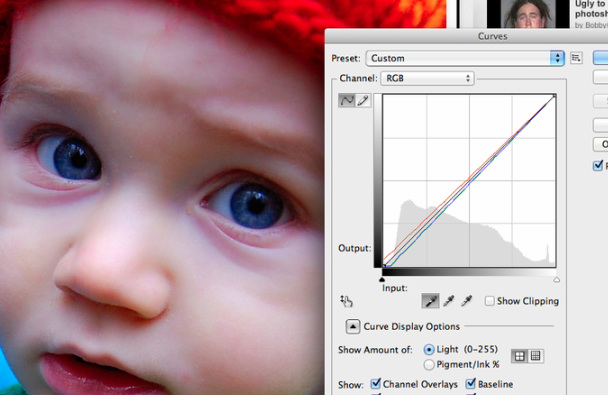
After you set the RGB values to 10-10-10 you will click on the darkest part of the image. You might need to search the image to find the darkest part. When you click on the darkest part you will see the entire image will be adjusted based on this new black point.
For the image at the right I clicked on the darkest part of the eyes (pupils) as the black point.
Click OK after you complete this step.
For the image at the right I clicked on the darkest part of the eyes (pupils) as the black point.
Click OK after you complete this step.
5. Set the White Point of the image.

Repeat Step 1 to open the Curves Dialog Box. You will follow a similar process to select the whitest part of the image.
Double click on the White Eye Dropper at the far right next to Input.
Double click on the White Eye Dropper at the far right next to Input.
6. Set the White Point RGB Values
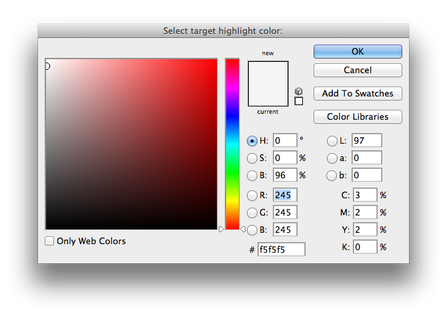
After double clicking on the White Eyedropper you will see a color picker box. Enter 245 for R, G and B.
Click OK after this is done.
Click OK after this is done.
7. Click on the Lightest part of the image
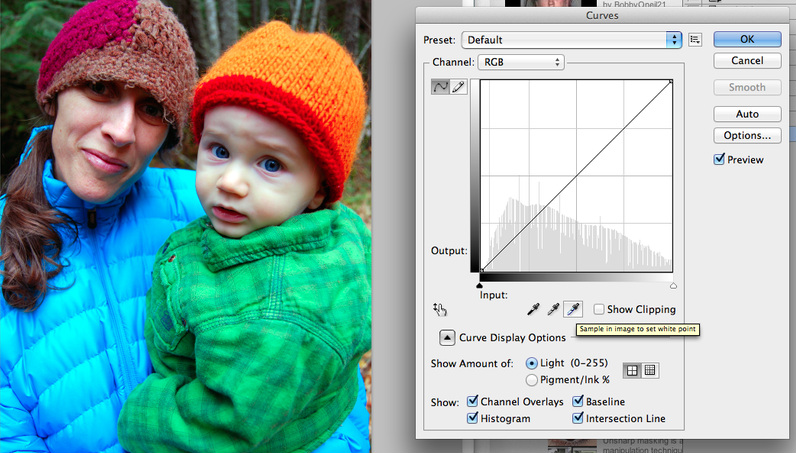
Use the white eyedropper to click on the whitest part of the image. You may need to search through the image to find the whitest part. Once you click on this point it will adjust your entire image.
After you have set the white point for your image click on OK.
Save your project.
Move on to STAGE 2: Retouching in Skin
After you have set the white point for your image click on OK.
Save your project.
Move on to STAGE 2: Retouching in Skin
