Stage 2: Skin RetouchingThis page will walk you through the steps to remove blemishes on your face, eyes, lips, hair etc. You will use the Patch Tool to circle areas that need a correction and drag the selection to an area that is more desirable.
The objective of this process is to remove textures and replace them with areas of smoother texture. This step is explained in the video to the right at 3m00s-7m25s. You can also find this video on the ghsmacserver- Graphic/Resources/PhotoRetouching/ S2.SkinRetouching |
|
Remove Blemishes on Texture Layer
1. Work on the Texture Layer
You will do the following steps on the Texture Layer. Your objective is to remove textures, objects, or anything you want removed and replaced with another piece of your face.
Select the Texture Layer in the Layers Panel.
Select the Texture Layer in the Layers Panel.
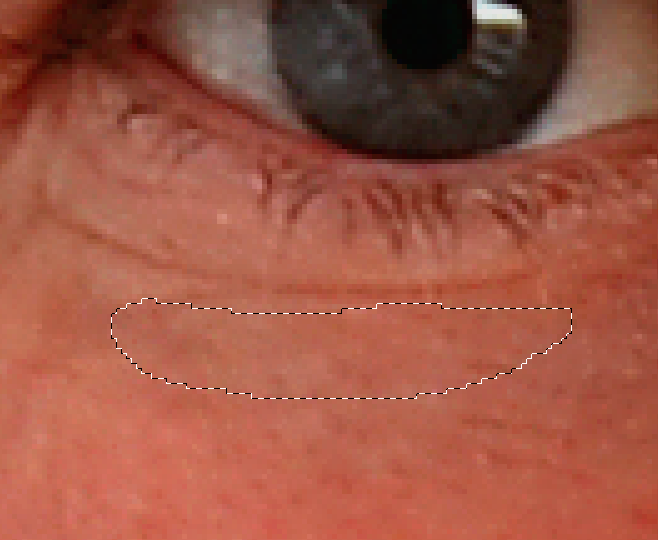
2. Use the Patch Tool
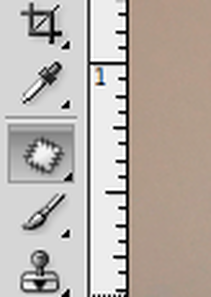
You will use the Patch Tool to circle an area you wish to replace. Circle an area with the patch tool. You will see a selected area and then drag the selected area to an area you would like to replace it with. The patch tool allows you to replace a selected area with a different area quickly and easily.
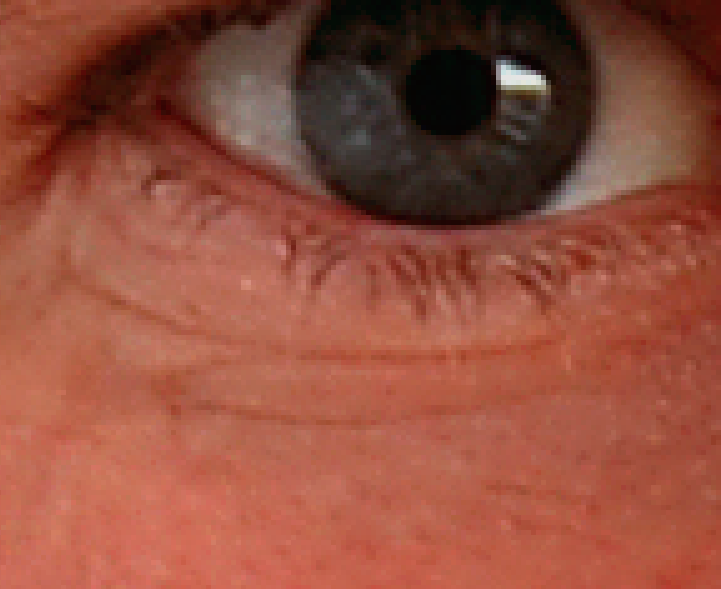
Find a blemish you wish to remove.
|
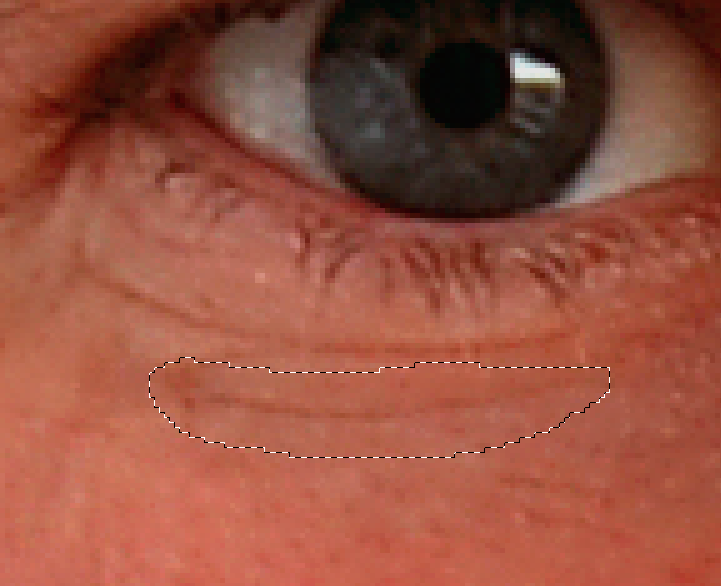
Circle the blemish with the Patch Tool.
|
Drag the selection to a more desireable part of your face. Usually you want to drag toward the right or left to maintain the same color level.
|
3. Patch Away!
Use the Patch Tool to circle anything and everything you would like to make disappear. You can literally replace anything you want....remove wild hairs, blemishes, wrinkles, scars, dirt, make up globs and more!
Your goal is to see how much you can wipe right away with the patch tool. Feel free to go overboard with this tool. Get that Hollywood effect going and paint yourself up!
Your goal is to see how much you can wipe right away with the patch tool. Feel free to go overboard with this tool. Get that Hollywood effect going and paint yourself up!
4. DON'T FORGET the CLONE STAMP!
If you want to blend in textures you can use the Clone Stamp Tool similar to the way you used it in the previous step when you were smoothing out colors. Be sure your opacity and flow is set around 40%, use a soft brush, and sample new areas often. This is an easy way to create a consistently textured skin surface. Sample areas of skin that have a desired texture and stamp over those pesky areas that have an undesired texture.
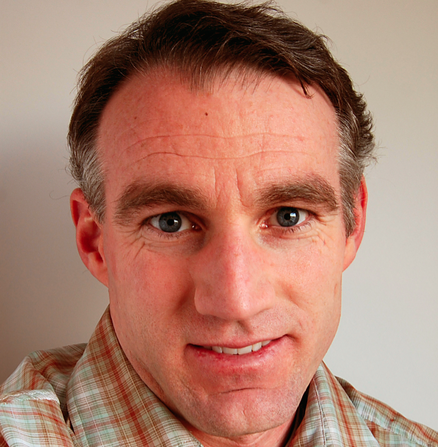
Old Mr. Hanson
|
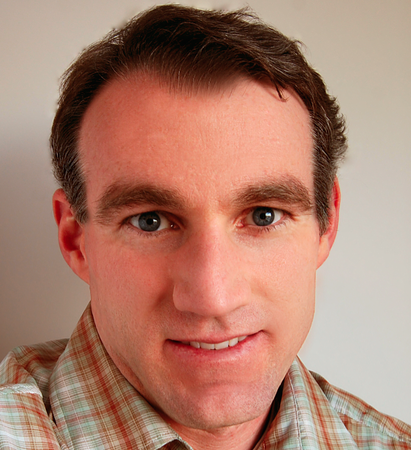
New Mr. Hanson (Hollywood Style)
|
5. Save your work and move on...
Compare your Before Layer to the work you have completed. By clicking this layer on and off you may see areas you might want to continue working on.
Save your project.
You are now setup and ready to move onto the next step: Burn and Dodge.
Save your project.
You are now setup and ready to move onto the next step: Burn and Dodge.
