Stage 2: Skin RetouchingThis page will walk you through the steps to add some virtual Makeup to your portrait.
You can really do up your Hollywood makeup if you wish. The objective of this process is to lean how to add some makeup to an image. This step is explained in the video to the right at 10m45s until the end of clip. You can also find this video on the ghsmacserver- Graphic/Resources/PhotoRetouching/ S2.SkinRetouching |
|
Add some Virtual Makeup
1. Create a new Makeup Layer
Create a new Layer from the Layer Menu Option....or hold Option while you click the new layer button in the layers panel.
This will allow you to make some settings to this layer before you begin.
This will allow you to make some settings to this layer before you begin.
2. Set up a Eyeliner/Mascara Layer
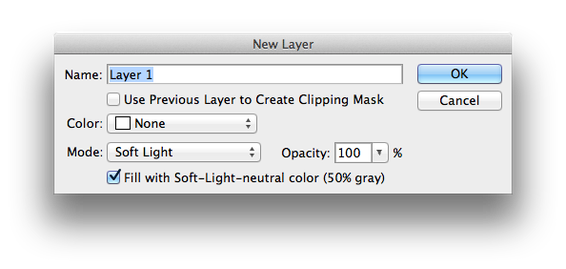
In the New Layer box you will set the Mode to Soft Light. You do not need a check in the "Fill with Soft Light Neutral color box.
Name this layer Eyeliner.
Once you have this set click OK.
On this layer you can use the brush tool to paint in eyeliner and mascara if you wish. You can add more eyeliner or eyelashes. Change your brush size and hardness depending on what you are trying to do.
In the tool options bar set the Opacity and Flow to about 60-80%. You can adjust these as needed.
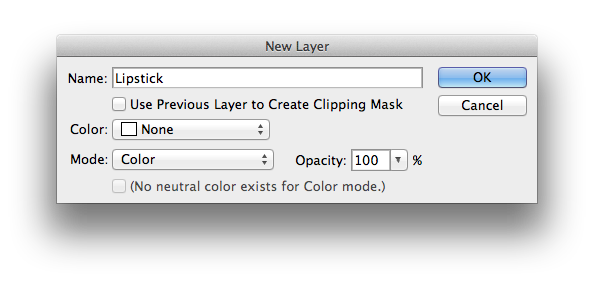
3. Set up a Liptick Layer
In the New Layer box you will set the Mode to Color.
Name this layer Lipstick.
Once you have this set click OK.
On this layer you can use the brush tool to paint in lipstick, eye shadow, and blush if you wish. Change your brush size and hardness depending on what you are trying to do. Typically a soft brush will work best.
In the tool options bar set the Opacity and Flow to about 60-80%. You can adjust these as needed to make your colors show up more or less. If they go on too dark you can use an eraser set at 50% to take some of the color away.
|

|
The Before and After for Makeup!
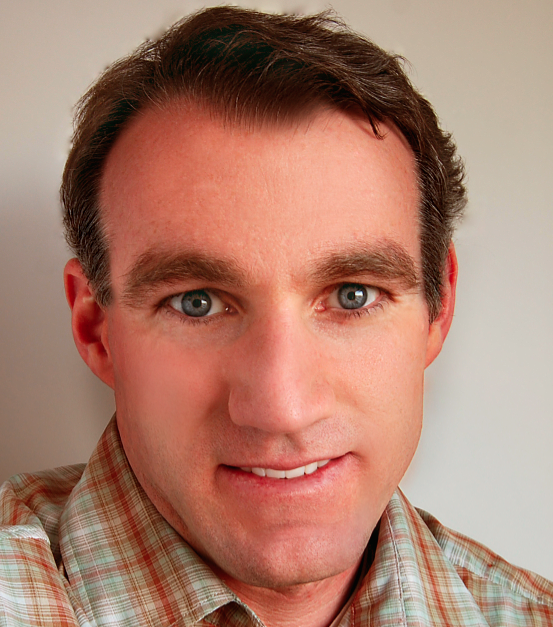
Mr. Hanson after some Burning and Dodging
|
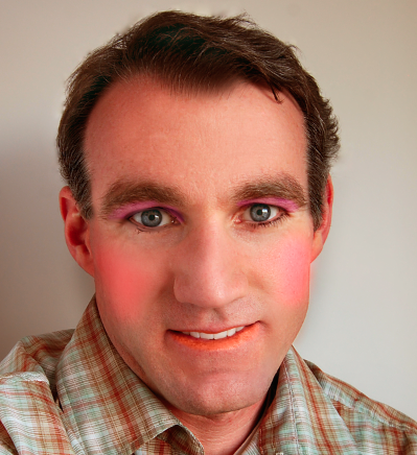
OMG!! Mr. Hanson with Makeup!
|
4. Save your work and move on...
Compare your Before Layer to the work you have completed. By clicking this layer on and off you may see areas you might want to continue working on.
Save your project.
You are now setup and ready to move onto Stage 3..Enhancing Eyes.
Save your project.
You are now setup and ready to move onto Stage 3..Enhancing Eyes.
