Photo Retouching Step 2: Sharpen ImageThis page will walk you through the steps involved in sharpening your image.
These adjustments can be made to any photo and will quickly and easily enhance a photo. This technique is outlined in detail in the YouTube video embedded to the right. You can also find this video on the ghsmacserver- Graphic/Resources/PhotoRetouching/ S1.ColorCorrection |
|
Sharpen an Image
1. View your image at 100%
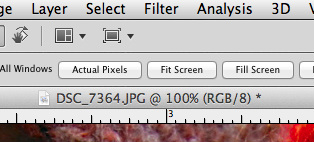
You can view your image at 100% by double clicking on your Zoom Tool in the Tool Bar. Verify your zoom rate by looking at the % next to your file name.
2. Apply an Unsharp Mask Filter
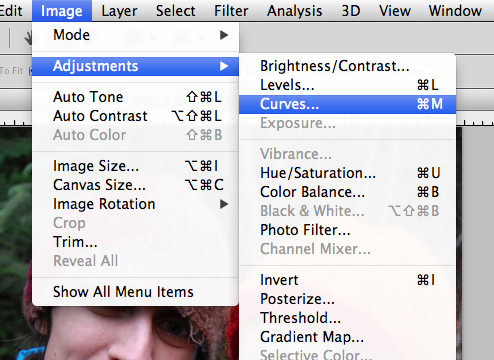
You will apply an unsharp mask filter from the Menu Bar. Select Filter-> Sharpen -> Unsharp Mask.
3. Apply the following values to the Unsharp Mask Filter Dialogue Box.
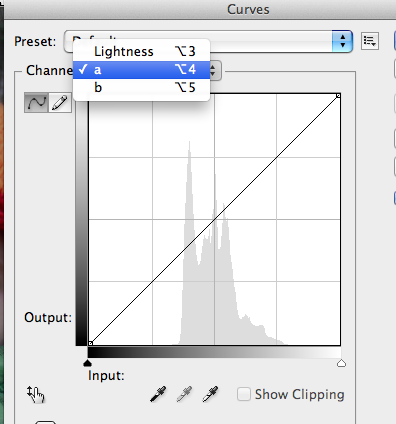
For a high resolution image you will want to use some values that are close to the values pictured to the right.
Amount: 120%
Radius: between 0.5-1.0 pixels
Threshold: 0-1 levels
Click OK.
Save your project.
Move on to the next step: Set Black and White Point
Amount: 120%
Radius: between 0.5-1.0 pixels
Threshold: 0-1 levels
Click OK.
Save your project.
Move on to the next step: Set Black and White Point
