Stage 2: Skin RetouchingThis page will walk you through the steps to smooth out the skin tones on your image. The objective of this process is to create smooth and even skin tones (remove redness, splotches, tan lines, and the like.
This step is explained in the video to the right at 1m26s-2m58s. You can also find this video on the ghsmacserver- Graphic/Resources/PhotoRetouching/ S2.SkinRetouching |
|
Smooth Out Skin on Color Layer
1. Work on the Color Layer
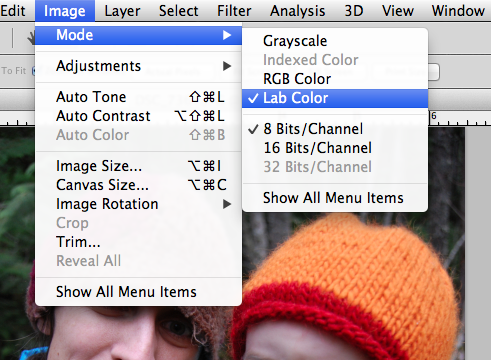
You will do the following steps on the Color Layer. You can turn the Texture Layer off if it helps to see your work. You can also keep it on to see how it will work with the two layers combined.
Select the Color Layer.
Select the Color Layer.
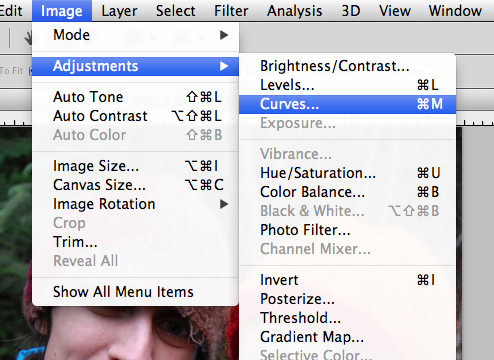
2. Use the Clone Stamp Tool

You will use the Clone Stamp Tool to begin to smooth out your facial skin tones. You are looking to blend splotches in with the rest of your skin tones. It might help to turn the Before and Texture Layers off so you can see your work.
The Clone Stamp Tool works by sampling an area while you press Option and Clicking with your mouse. Then when you click the area you selected will replace the sampled area. This is best learned with the trial by fire method. If you need further instruction on how the Clone Stamp Tool works check out this page.
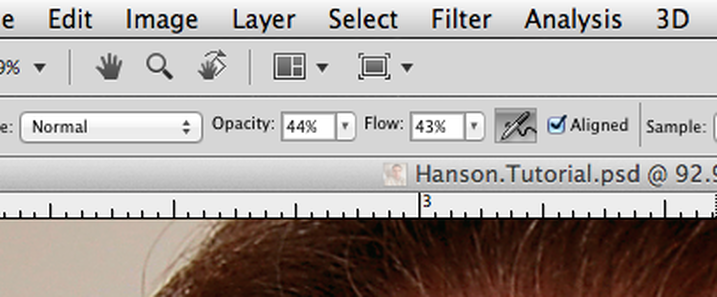
Before you Clone Stamp away set the Opacity and Flow both to 30-50%. (See Below). You will want to also set the brush hardness to 0%.
The Clone Stamp Tool works by sampling an area while you press Option and Clicking with your mouse. Then when you click the area you selected will replace the sampled area. This is best learned with the trial by fire method. If you need further instruction on how the Clone Stamp Tool works check out this page.
Before you Clone Stamp away set the Opacity and Flow both to 30-50%. (See Below). You will want to also set the brush hardness to 0%.
3. Clone Stamp Away
Use the Clone Stamp tool on the Color Layer until you have smoothed out your skin tones until they appear more uniform in tone. Your objective again is to smooth out color inconsistencies on the color layer.
4. Save your work and move on...

Compare your Before Layer to the work you have completed. By clicking this layer on and off you may see areas you might want to continue working on.
Save your project.
You are now setup and ready to move onto the next step: Remove Blemishes on Texture Layer.
Save your project.
You are now setup and ready to move onto the next step: Remove Blemishes on Texture Layer.
