Art Survey Digital Project: The Text Based Portrait
This project will allow Art Survey Students to explore the world of working with digital images, typography, color and Photoshop CS6. This page will allow you to work at your own pace and review parts of the lecture that you missed in class.
You will use a photo of yourself to create a typography based image. The words of you choose will reflect you, your personality, interests, or state of mind. This tutorial is base off of techniques from Arron of 10 Steps SG.com. If you complete the steps outlined below you can always move forward by following Arrons tutorial page.
You can also follow this tutorial for help also.
100 Text Based Portrait Example and Tutorials
Stage 3: Create customized text brushes
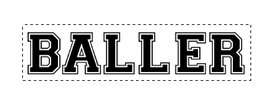
Type several words onto your WHITE layer with black letters. Select the WHITE Layer and the choose the Type tool from the Tool Bar.
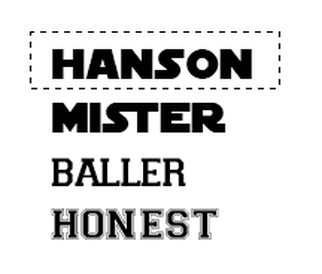
Click in the work area and type a minimum of five words. You can make as many text brushes as you wish. Type school appropriate words that reflect who you are, describe your personality, interests, or personal ideas. Click one time to place your text cursor. Press return to jump to the next line.
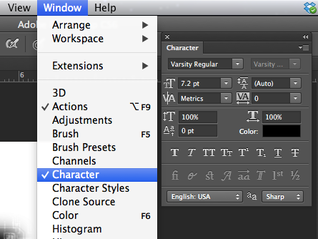
Open up the Character Panel to adjust the font style, bold, italics, spacing or size of your words. You can open the Character Panel by going to Window-> Character
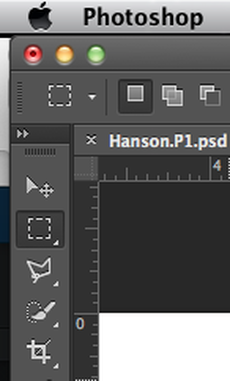
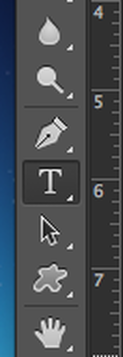
Turn one (or a group) of your words into a brush. Use the Rectangle Marquee Tool, pictured in the tool bar on the right. Click and drag to create a selection around the word or words that you would like to turn into a brush.
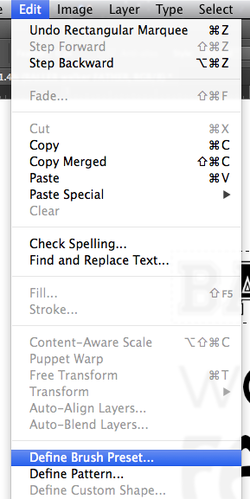
With a word selected with a marquee, choose Edit-> Define Brush Preset. Type a name for your new brush.
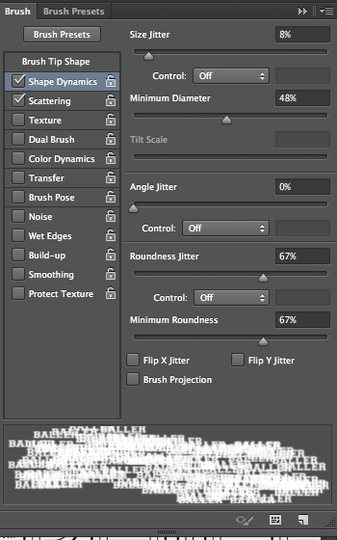
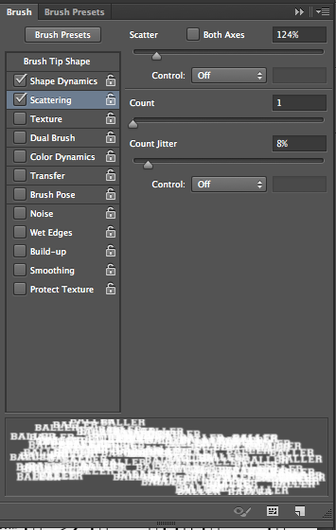
Select the Brush Tool from the Tool Box. Open the Brush Panel and locate the new brush you just created. Adjust the Shape Dynamics and Scattering Options similar to the settings selected. Try experimenting with different settings and see how it effects your brush.
Paint with your brush to see how it works.
Try changing the color of the brush.
Change the size of your brush by pressing the [ and ] keys on your keyboard. These buttons are located to the right of the P.
Create a new brush for each of your different words. Repeat the process or making your first brush.